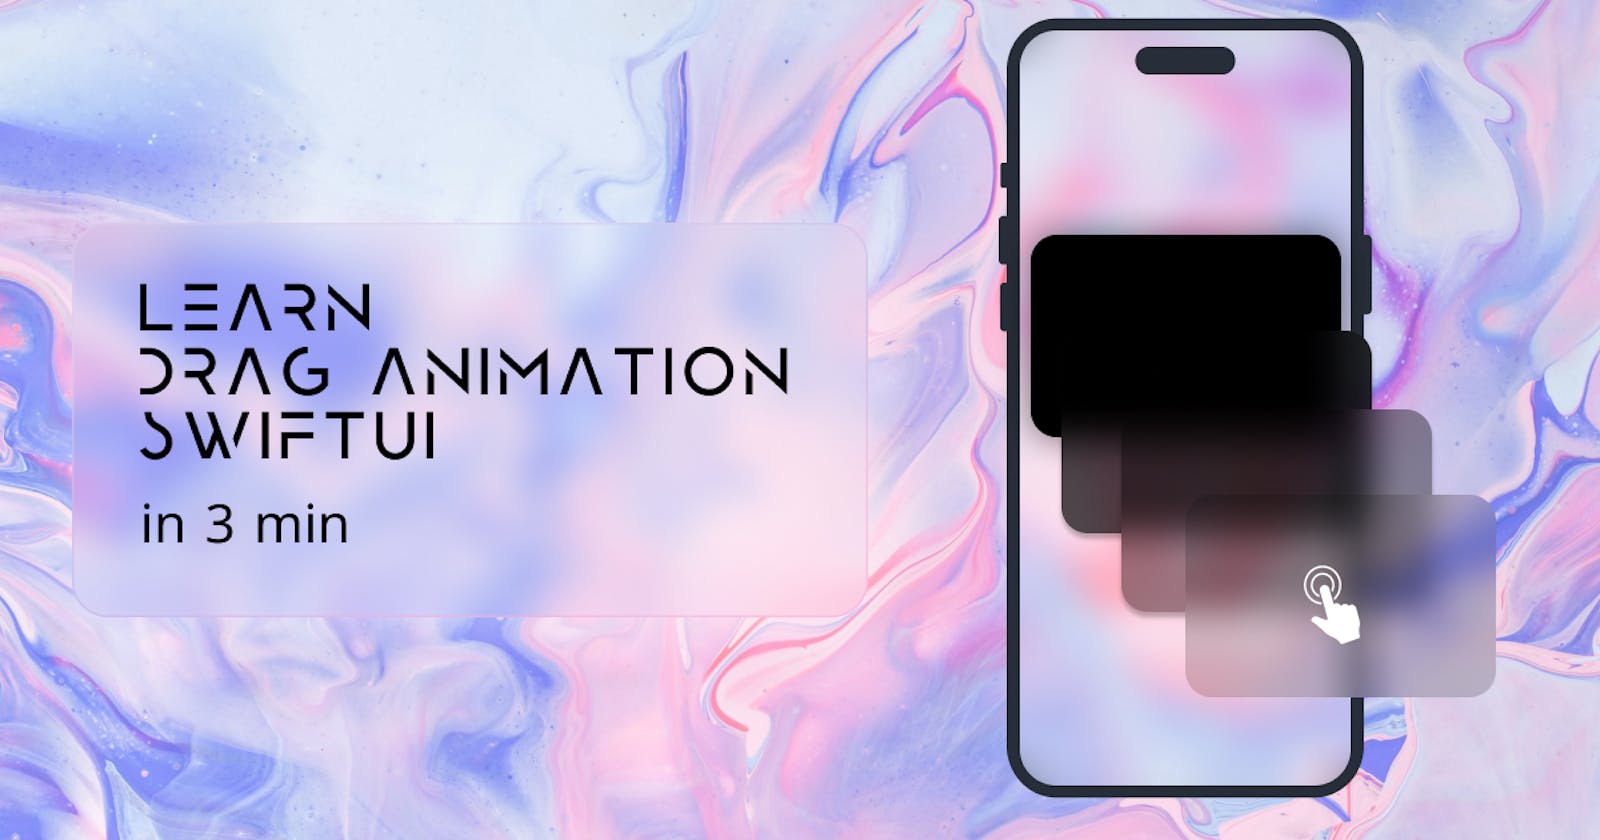
Swift drag & stay animation in 3 min (beginner friendly)
Learn simple tips for drag gesture with bouncing effect in swiftUI
Where to start?
Skip the formalities, and let's dive right in! 🚀 While I'd genuinely love to get to know you better, today's agenda is all about shaping magic. For our spotlight? A sleek rounded-corner rectangle, beautifully showcased below. Ready to craft? Let's go!
    var body: some View {
        RoundedRectangle(cornerRadius: 40)
            .frame(height:300)
            .padding()
    }
Then define a state variable and initialize it to .zero.
@State var viewState = CGSize.zero
But What is CGSize?
In the realm of iOS development, CGSize is like our canvas's size. It represents two-dimensional space, specifying a width and a height. Think of it as the dimensions of a rectangle.
Here, our canvas (or rectangle) is 100 units wide and 200 units tall. Simple, right?
let myCanvasSize = CGSize(width: 100, height: 200)
Why Do We Need It?
Just as our artist can't begin without knowing the canvas size, app developers need to know sizes too. Whether it's for positioning a button, setting the dimensions of an image, or laying out a whole screen, CGSize gives us the power to control the space our elements occupy.
Add some animation based on the offset
Alright, ready to tinker with some code magic? 🎩✨ First up, we've anchored our rectangle by initializing our state variable to .zero. This means our rectangle is playing it cool, staying put for now. But the excitement begins when we introduce the drag gesture! We'll refresh the offset value and sprinkle in a touch of logic. Get set for some dynamic action ahead!
        RoundedRectangle(cornerRadius: 40)
            .frame(height:300)
            .padding()
            .offset(x: viewState.width, y: viewState.height)
Last step
Now will be the final part to make everything happen. In order to better understand the .gesture modifier.
Let's imagine you have a magic touchpad. Every time you drag your finger across it, a toy car on a table moves. The car's movement perfectly mirrors your finger's path on the touchpad.
1. The Touchpad Setup: .gesture(DragGesture())
First, we need to set up this touchpad and tell it to recognize when someone is dragging their finger across it. In our code, .gesture(DragGesture()) does just that. It's like turning on the touchpad and telling it to watch out for dragging motions.
2. While You're Dragging: .onChanged
Now, let's say you start moving your finger on the touchpad. As you drag, the toy car starts moving in real-time, following your finger's path.
        RoundedRectangle(cornerRadius: 40)
            .frame(height:300)
            .padding()
            .offset(x: viewState.width, y: viewState.height)
            .gesture(
                DragGesture().onChanged { value in
                    viewState = value.translation
                }.onEnded { value in
                    viewState = .zero
                }
            )
Here, .onChanged is like our touchpad's "sensors". They detect every tiny movement of your finger. The value.translation is a fancy way of saying, "Hey, how far and in which direction did the finger move?" We then store this information in viewState, which in turn guides the toy car's movement.
3. When You Lift Your Finger: .onEnded
Once you've had your fun dragging your finger around and making the toy car zoom here and there, you decide to lift your finger. The moment you do, the toy car magically returns to its starting point.
Make the animation smooth in a bouncing way
By adding this .animation modifier like that, when you grab the rectangle will move smoothly.
//code//
.animation(.spring(response: 0.9, dampingFraction: 0.5))
.gesture(
//...//
That's it! As promised, you can seamlessly integrate this fantastic animation into your code. If you found this tutorial helpful, please give it a thumbs up and consider following me on Twitter for more inspiration. Don't hesitate to DM me if you have any questions or just want to chat.
Check out my portfolio (note: only the desktop version supports 3D).
See yaaaa
